Install the Microsoft Authenticator app
If you haven't already installed Microsoft Authenticator on your phone, go to App Store (for iPhone) or Google Play (for Android) and install Microsoft Authenticator. Service phones enrolled in Workspace One have the app pre-installed.
Note: See the image showing the Microsoft Authenticator icon and make sure to install the correct app.
Alternative methods for two-factor authentication
If you can't or won't use Microsoft Authenticator, or if you don't have a mobile phone, you may use another method approved by the Head of IT Security. See user manual for other approved authentication methods.
When do I encounter two-factor authentication at UiO
Read about where you encounter two-factor authentication at UiO.
On your computer
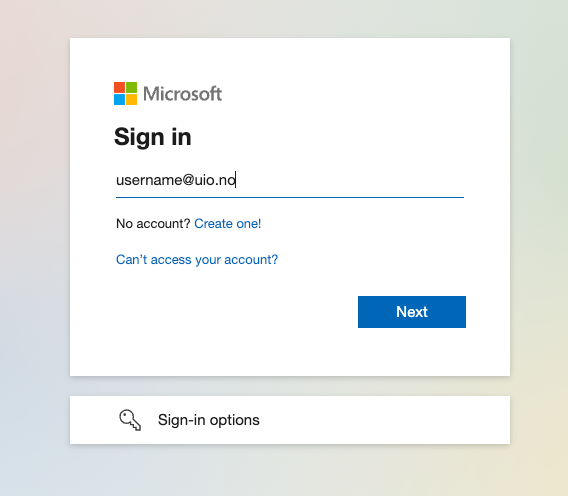
- Sign in to Microsoft 365 with your username@uio.no and click Next.
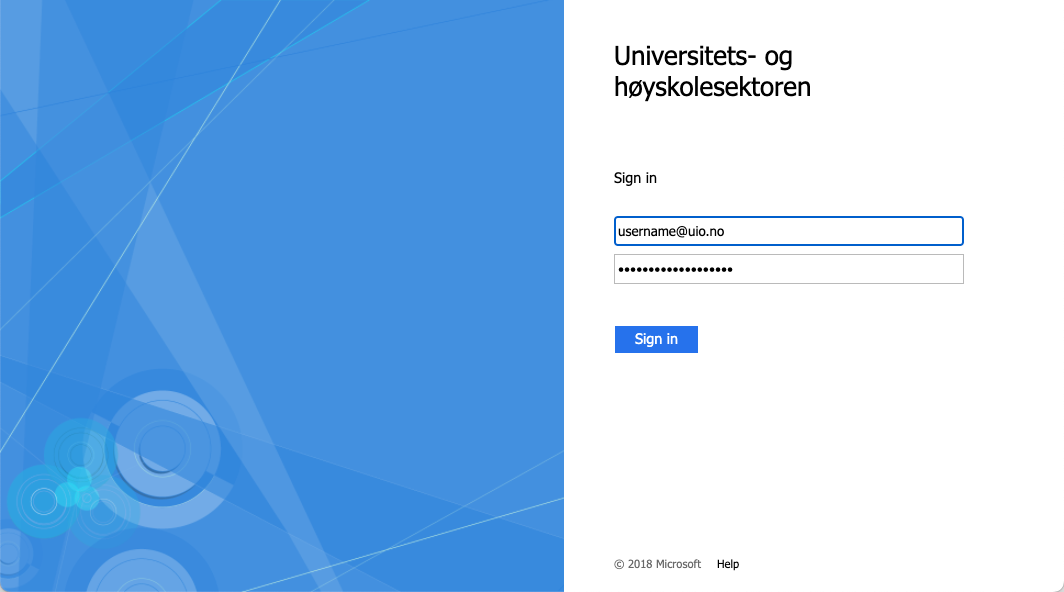
- You will see to the Sign in page of UiO (Universitets- og h?yskolesektoren), where you log in with your username@uio.no and password. Click Sign in.
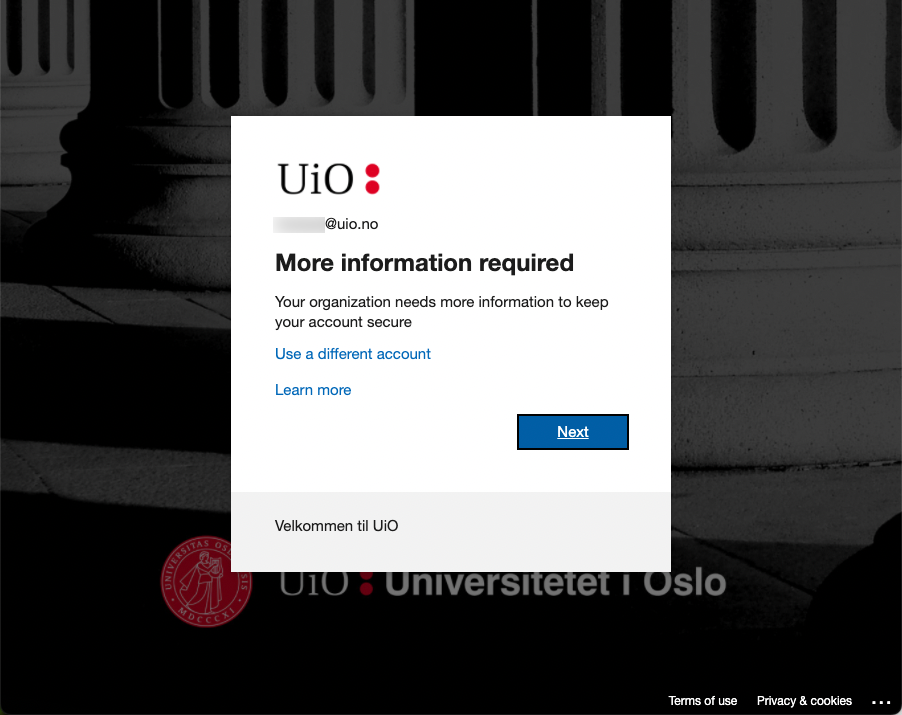
- If you are asked if you want to stay signed in, you can click yes. Next, you will see this dialog, stating that the UiO needs more information. Click Next to start the activation process.
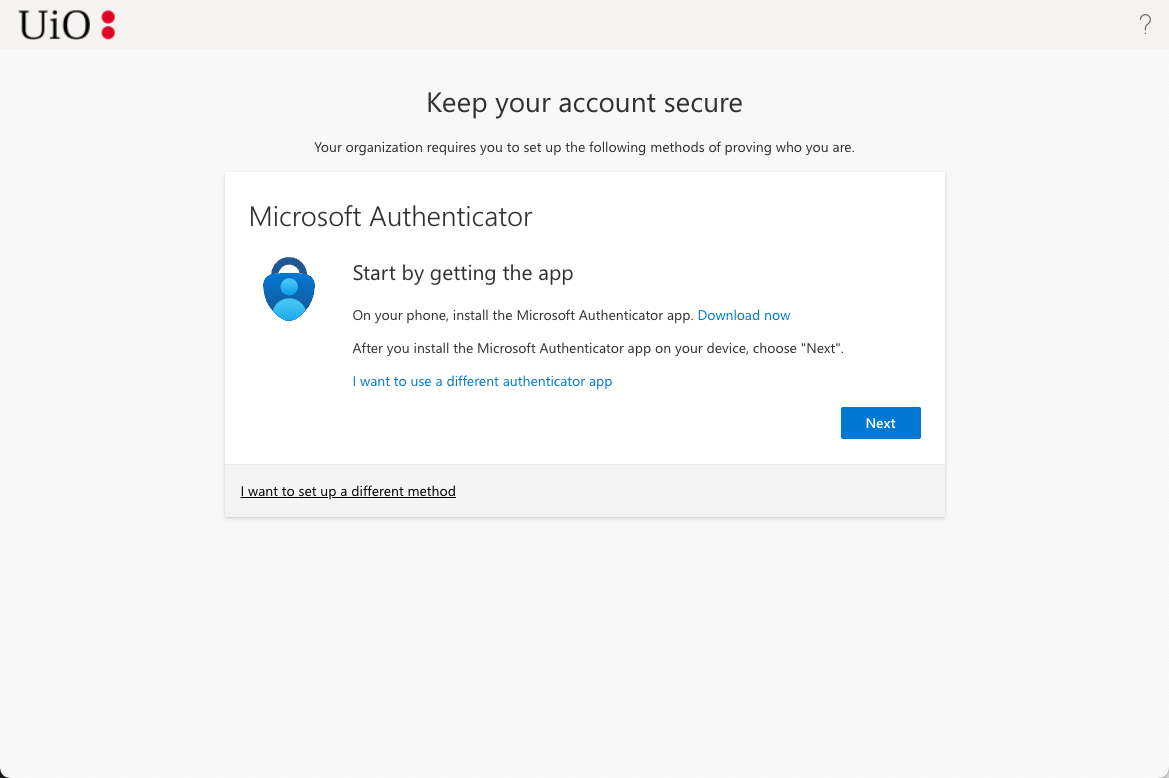
- Download the authenticator app Microsoft Authenticator app (recommended) by clicking Download now.
- Scan the QR code for the iPhone version or the Android version of the app, depending on your phone.
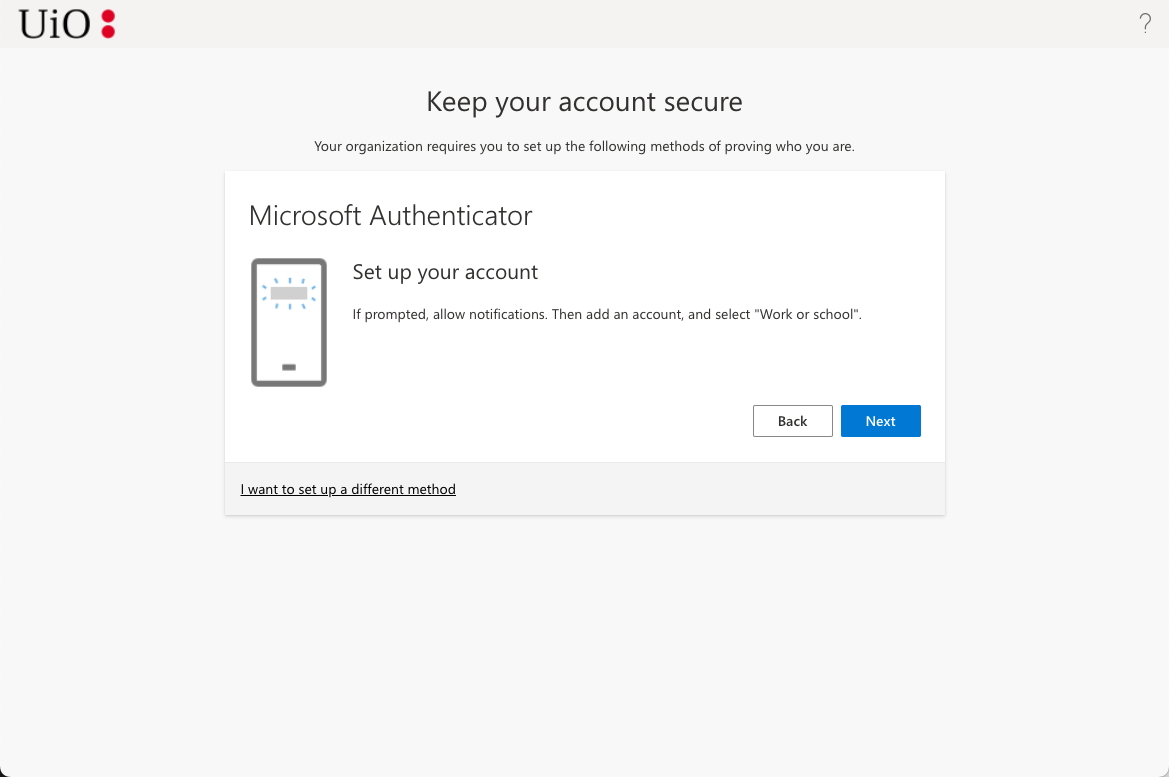
- Click Next to start setting up two-factor authentication.
- Open Microsoft Authenticator on your phone.
- If prompted, allow notifications.
- Tap add an account (+) and select Work or school.
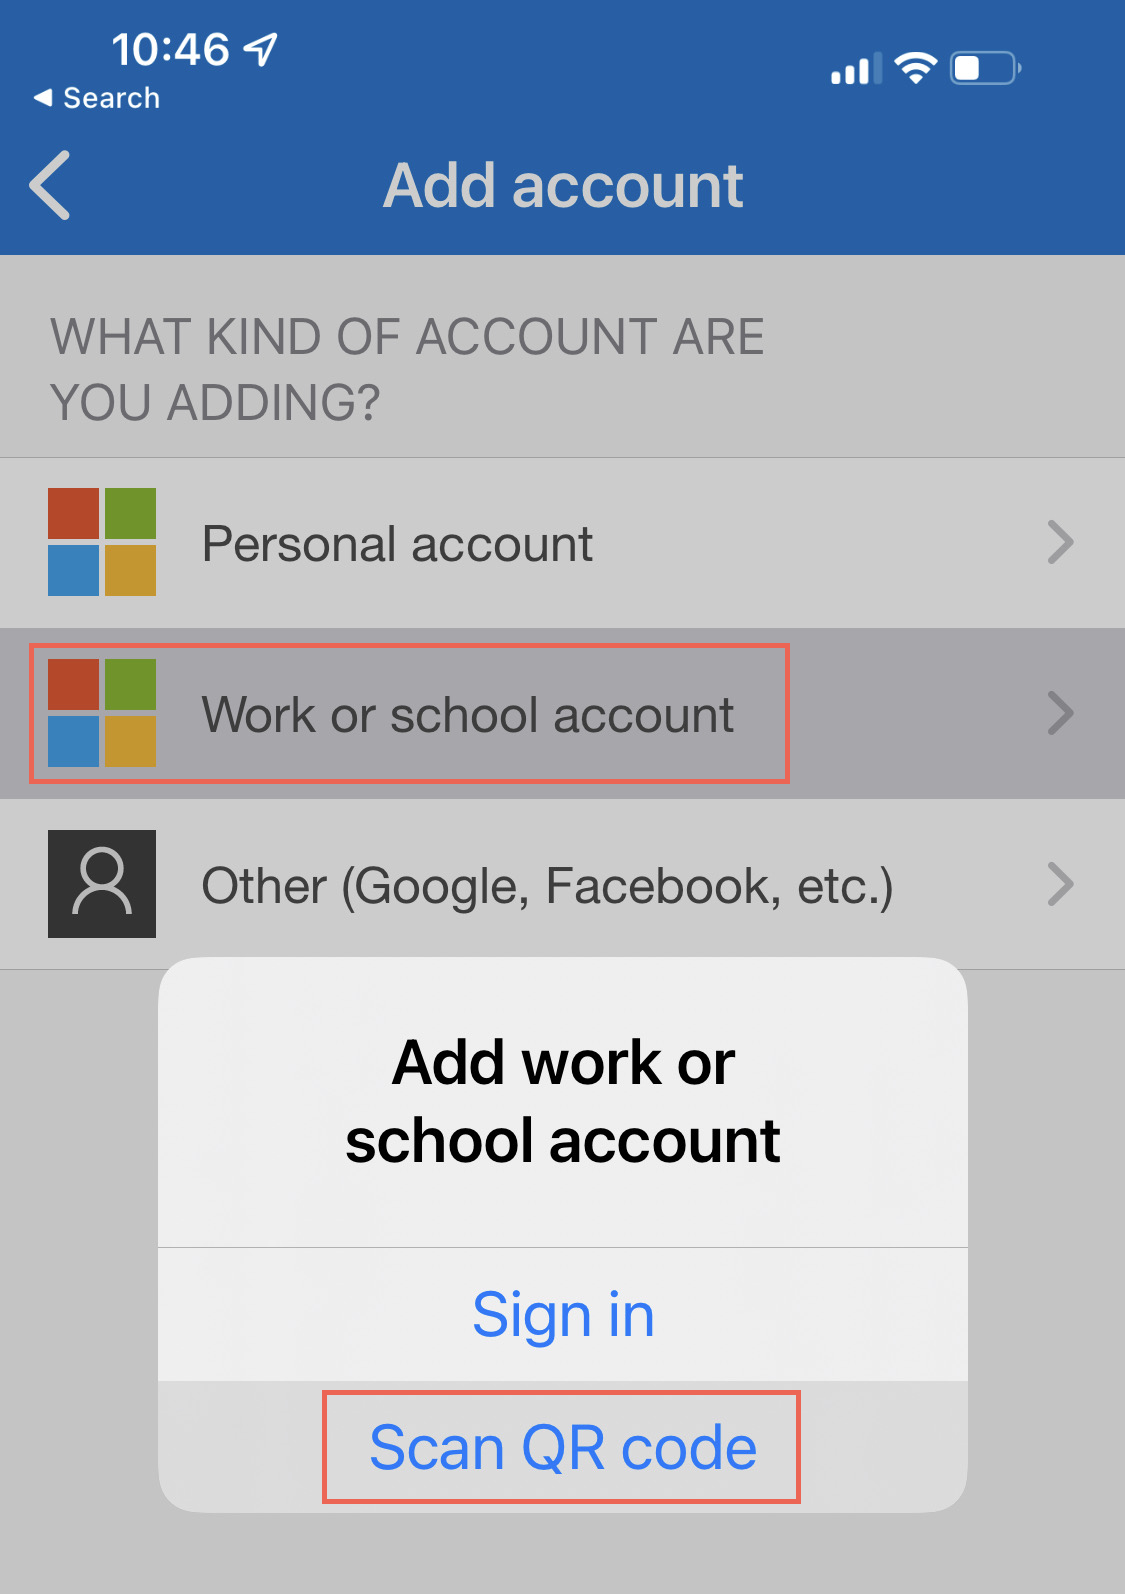
-
Select Scan QR code. Do not select Sign in here. If necessary, give the Authenticator app access to the camera so you can scan the QR code in the next step.
- Point the camera on the phone, while in Microsoft Authenticator, at the QR code. The application will automatically recognise the QR code and configure two-factor authentication.
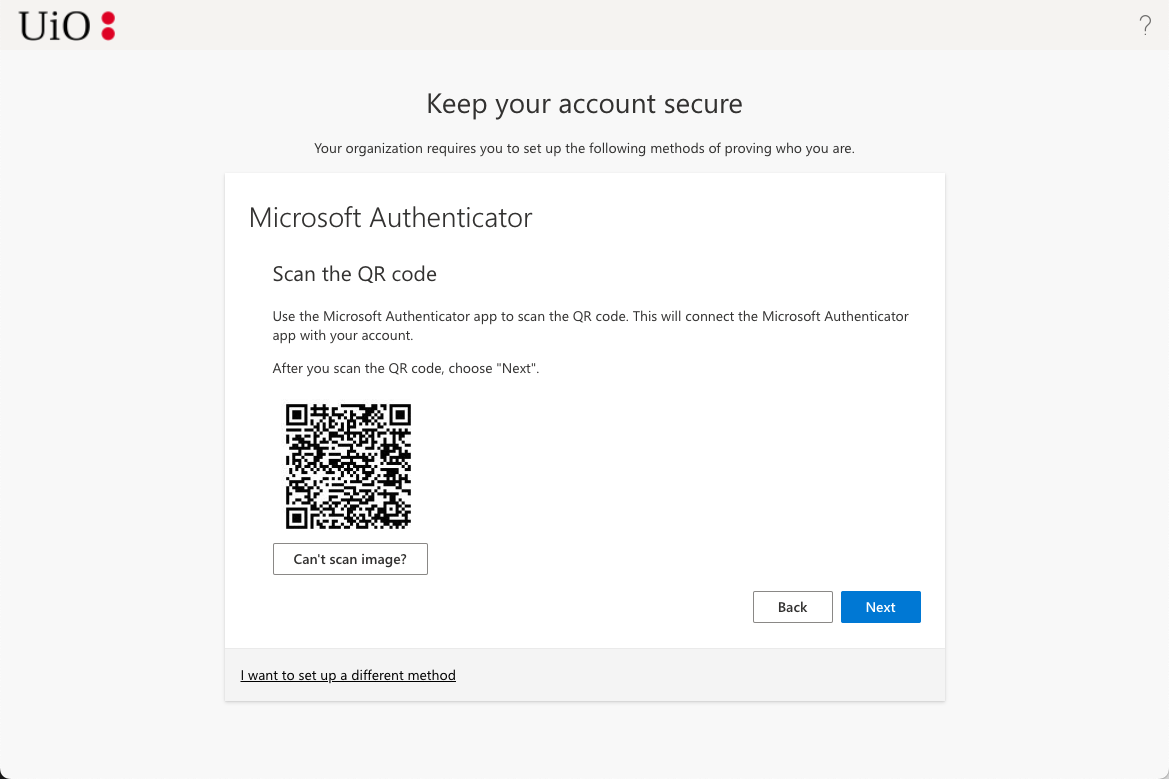
If you have problems scanning the QR code with the authenticator app, click Can't scan image? - Setup is now completed. Let us verify that two-factor authentication with push notification works by approving the notification set to the authentication app on your phone.
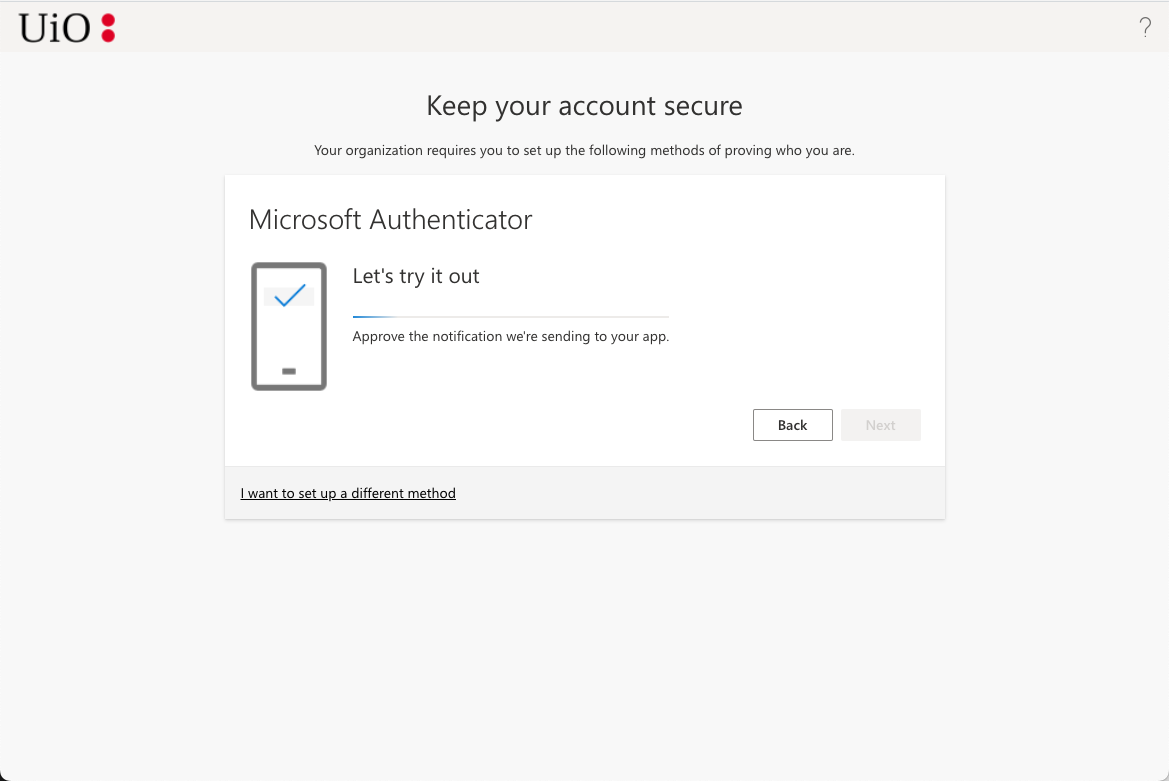
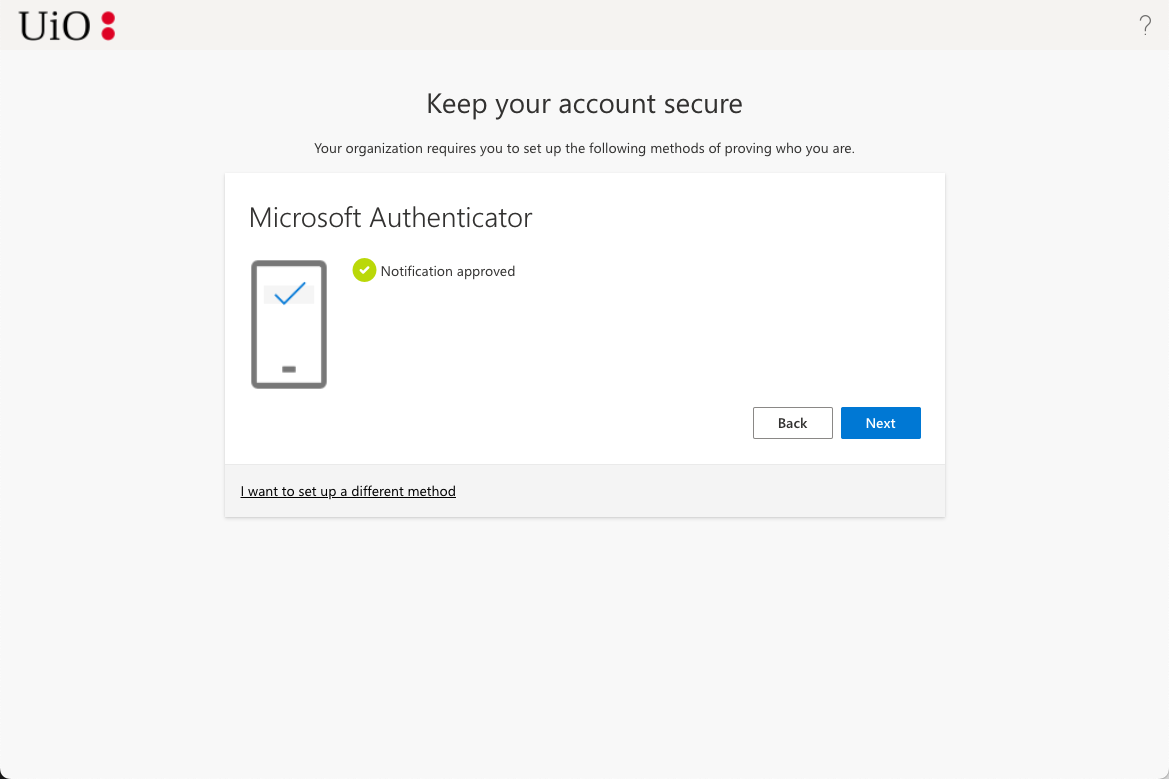
- Approve the notification that has been sent to your authenticator app on the phone.
- Your approval of the notification will be picked up by the guide and you can click Next.
- The guide will end with a confirmation that you have completed the setup of two-factor authentication. Click Done.
 Search the user manualContact support
Call us
Opening hours are weekdays from 08:30 to 17:00 and Saturdays from 10:00 to 15:00.
Phone number: 22 84 00 04Book a Zoom meeting
Students and employees can book a Zoom meeting with UiO Helpdesk. Available hours are Tuesday to Thursday between 11:00 and 13:00.
Book a video call